How to make cute stickers!
Share
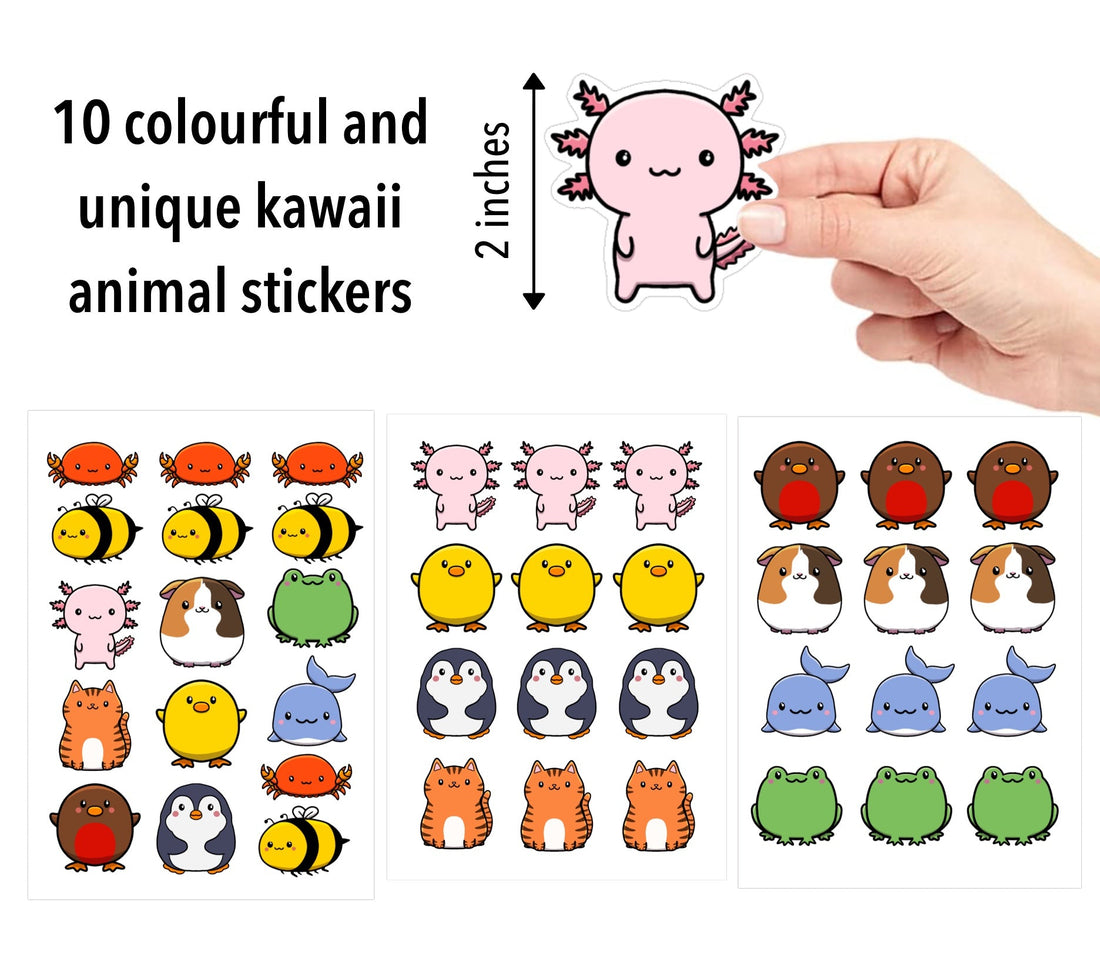
Kawaii has become one of the most commonly searched words not only in Japan, but in many other countries looking for adorable items to buy! And it's not limited to animals; there are kawaii foods, objects, vehicles; pretty much anything can be made kawaii... You just need imagination, and the right tools...
So, what are these tools? Well, there are many ways you CAN make Kawaii stickers. But here I'm going to show you how I personally make them.
Step 1: Digital drawing device

For this, I recommend the iPad Pro 12.9". The iPad itself is easy to use, and has access to what I see as the best value for money and performance drawing app there is (more on that in a moment). Yes, it's pricey, but if you want to save yourself some money, you can pick up a decent second hand one from high-street stores, or online. I also fully recommend getting the Apple pencil! I've tried a few stylus options, but none are as good, and none offer the touch-sensitive response to drawing that the Apple Pencil does.
Step 2: Digital drawing software
1 word: Procreate. This app, without a doubt is THE digital drawing software to have. You don't have monthly subscription costs, just a one-off payment of £20, which is a bargain compared to other apps of similar caliber! It is only available to IOS, so unless you have an Apple product, you won't be able to use this app!
Step 3: Get drawing!
Now you have what you need, start drawing! You can grab references from online (Pinterest is a great please for this), or, if you're a bit of a show-off (wink), you can just draw from our imagination! With Kawaii, the only rule is it needs to be CUTE! Of course, the word cute is subjective. So just draw what you find cute, and you're on the right track.
Turn your art into a sticker
Alright, now for the part that has a bit more of a technical aspect to it! You'll need a few things:
Sticker paper - I use this glossy sticker paper which is recyclable, but you can use any that you want as long as it is compatible with your printer!
A Cricut Machine - Mine is a Cricut Explore, which is useful if you're going to be feeding A4 sheets through it.
A Colour printer - I have recommended the Epson XP-970 many times, because it is such a great deal for the quality you get.
The Cricut design space app.
Step 4: Print & cut your stickers
Now you've created your designs, you'll need to upload them into the Cricut design space app and print them I like to add a white outline around my designs; it creates the typical sticker look, and gives your machine a bit of wiggle room so it doesn't cut into the design.
There are lots of How To videos on how to use Cricut and Procreate for stickers on the internet, and I have also created one which you can watch by clicking on the image to the left!
Or you can click this link:
How to make stickers using Procreate and Cricut
I like to set my Cricut to the Light Cardstock setting for cutting, so it cuts all the way through the vinyl creating Die Cut stickers. If you prefer Kiss cut stickers, select either vinyl or iron-on for a more shallow cut, so the machine only cuts the first layer of your vinyl.
If all that seems like a lot of hard work, but you'd love to get your hands on some stickers for your sticker collection, click the link below to browse my sticker collection!

